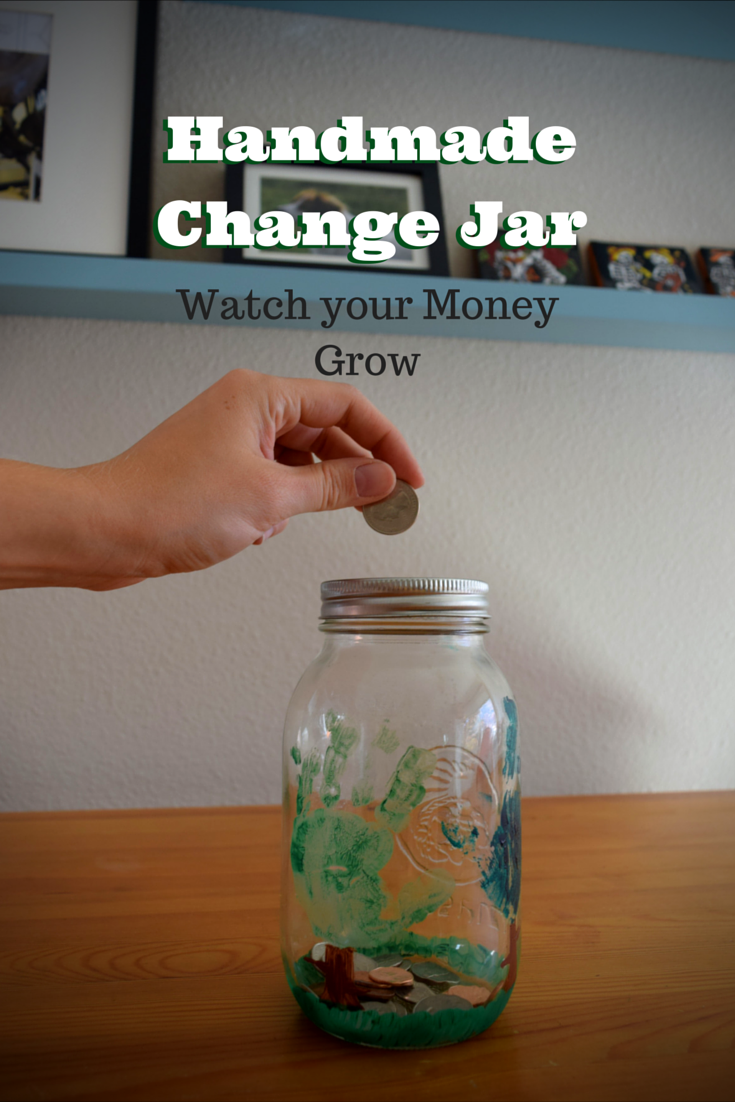
 Eric is really, really good about saving his change. I tend to spend mine, getting way more excited than is warranted when I get to use pennies at the store, whereas he empties his pockets at the end of the day to watch a jar fill up with dimes and quarters.
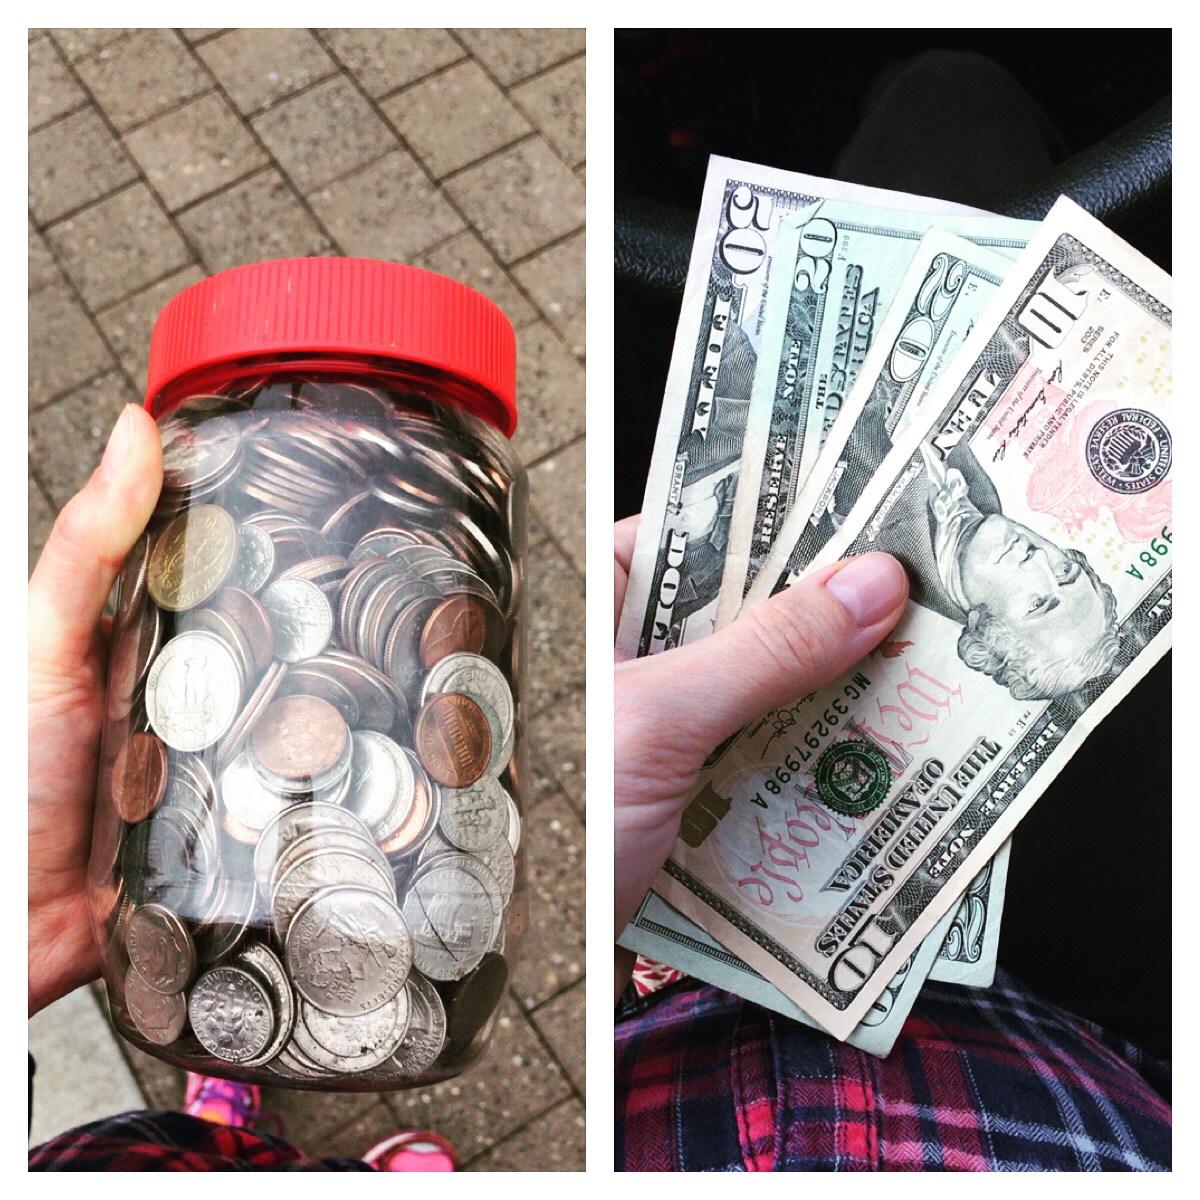
Not too long ago, the peanut butter jar we’d been using was too full to accept a single more cent. I took it to our credit union—and walked out more than $135 richer.
The problem: I could not go back to using that scuzzy plastic jar. It was dirty, it was ugly and I didn’t want it sitting on our mantle, no matter how much money it held.
So I enlisted Peeper’s help! Together, we made a brand-new/upcycled change jar so we can (ahem) watch our money grow. (Get it?)
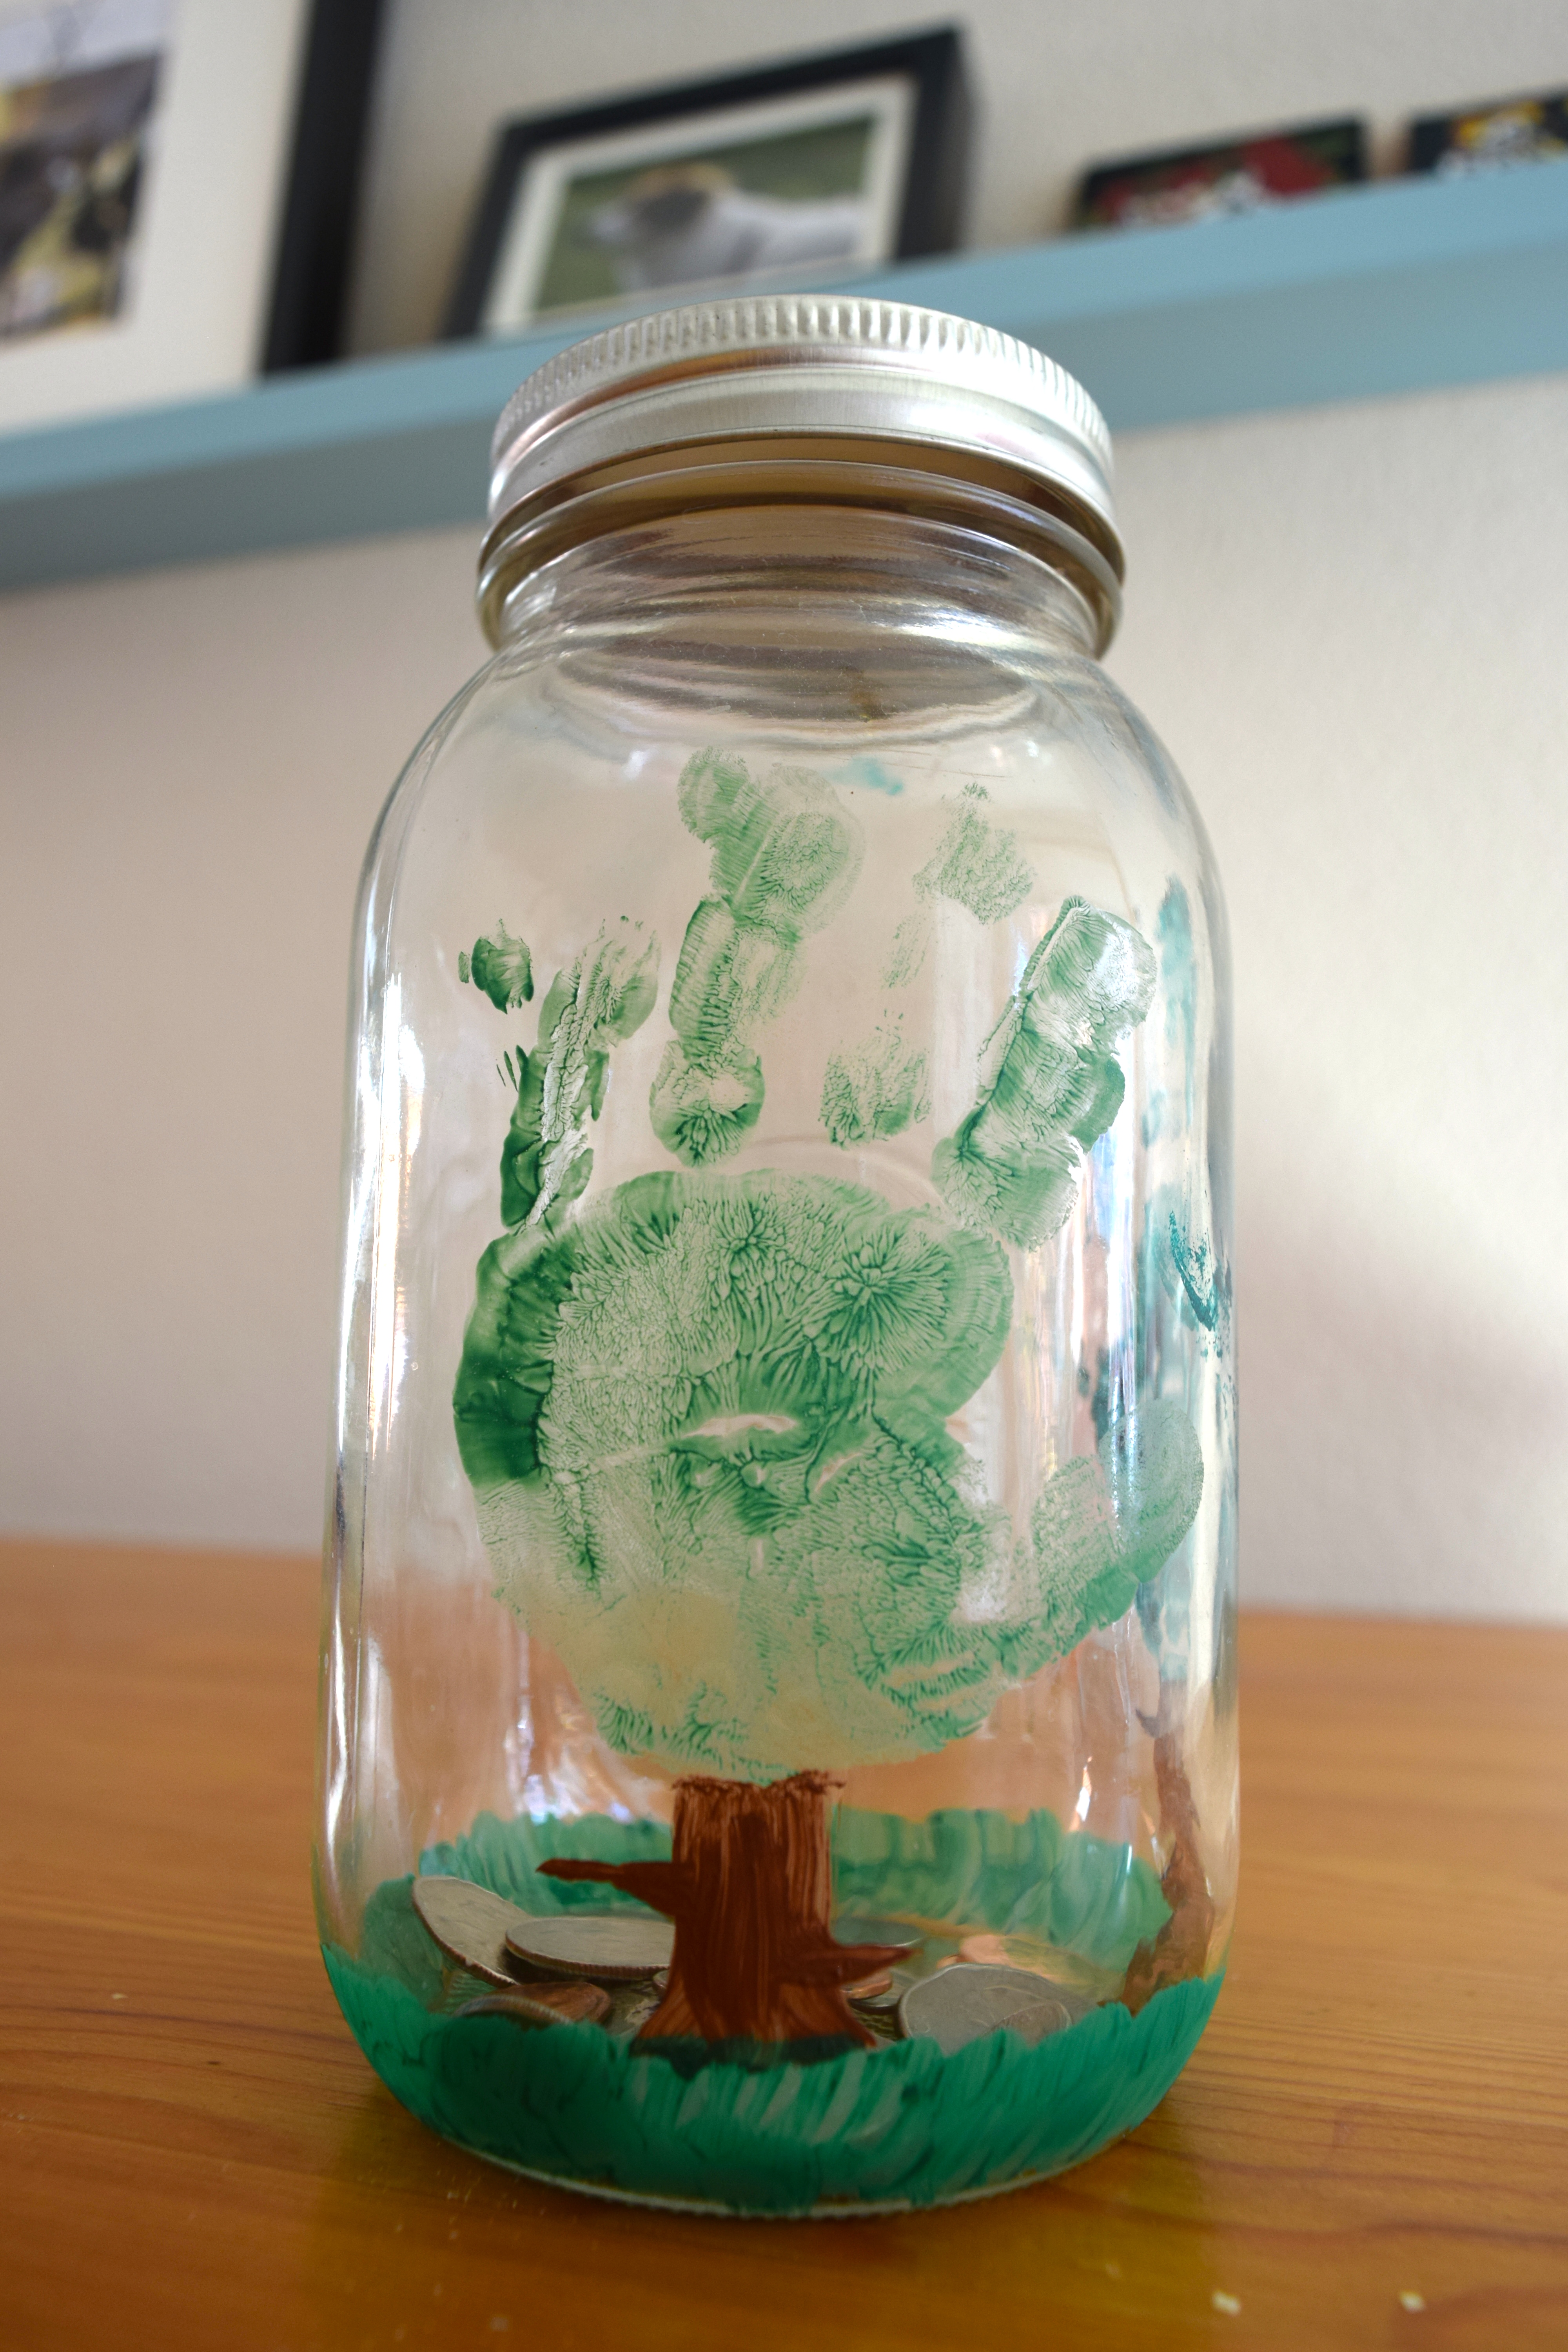
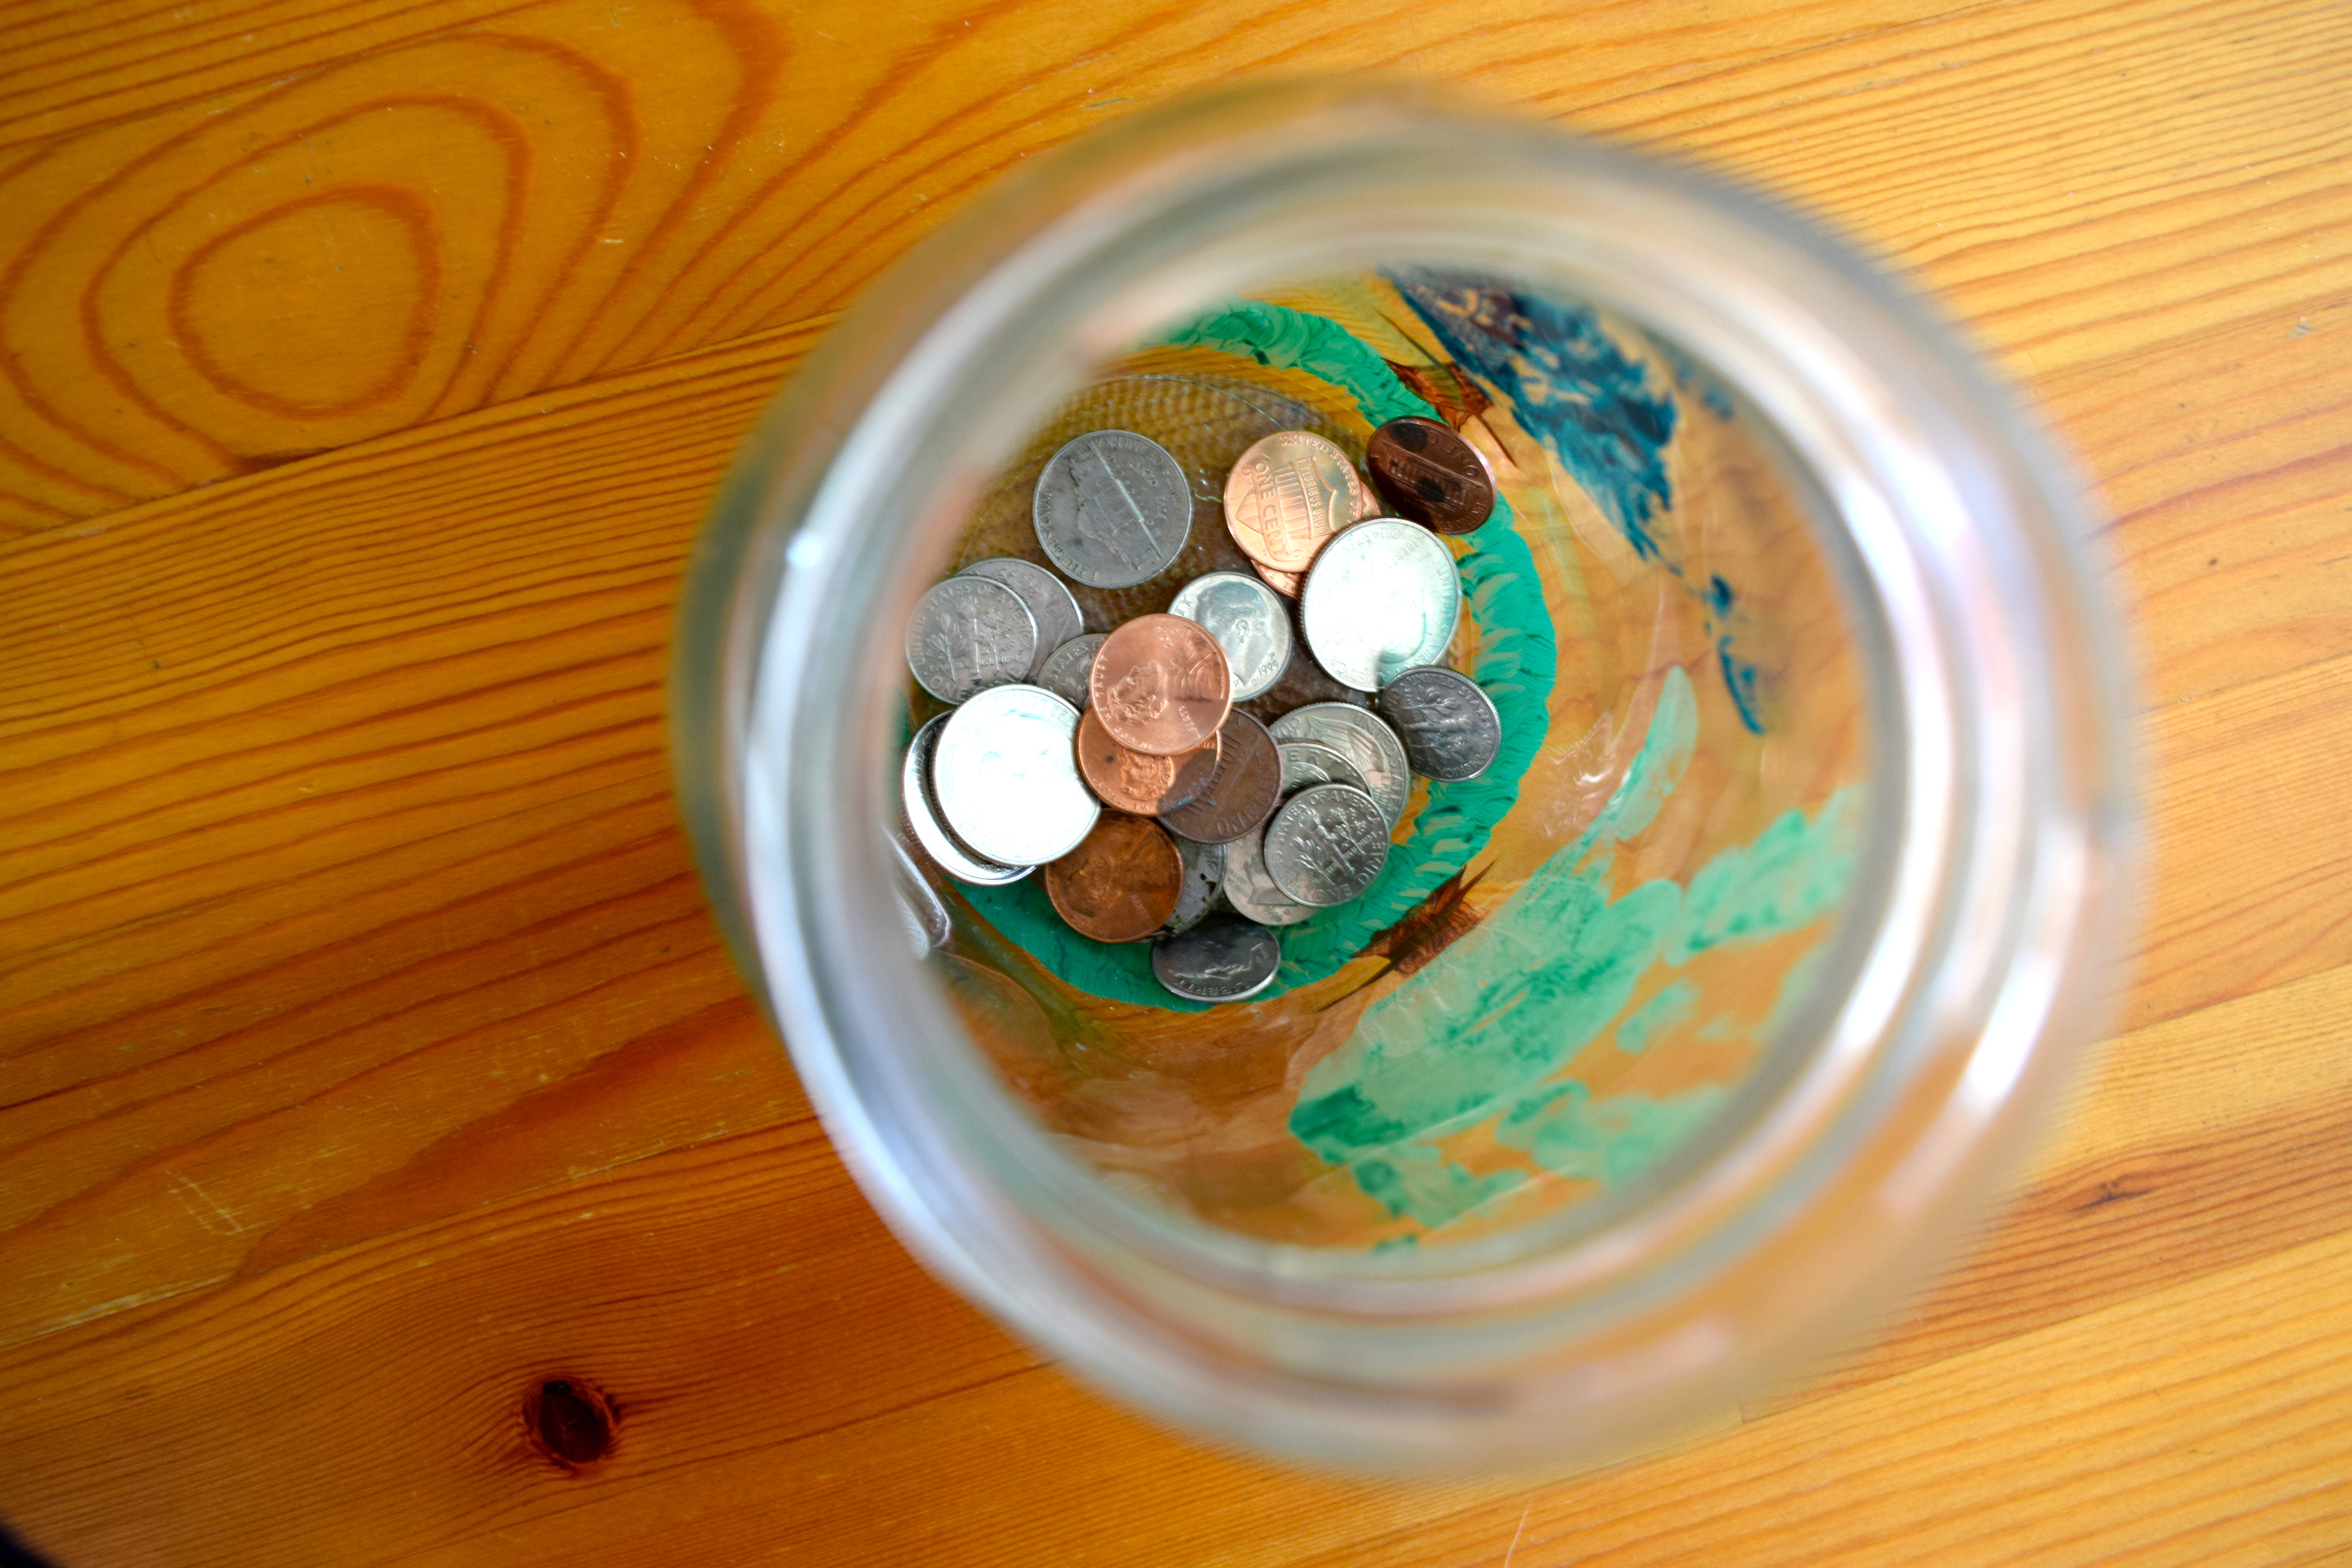 Here are the instructions so you can make one, too!
Handmade Change Jar
You’ll need:
- a Mason jar or another upcycled glass jar, with lid
- acrylic paints and paintbrush
- newspaper or a crafting tablecloth
- damp paper towels
- Acrylic stains, so cover your work surface with newspaper or something you don’t care about. Take off your little helper’s clothes or dress her in a painting smock.
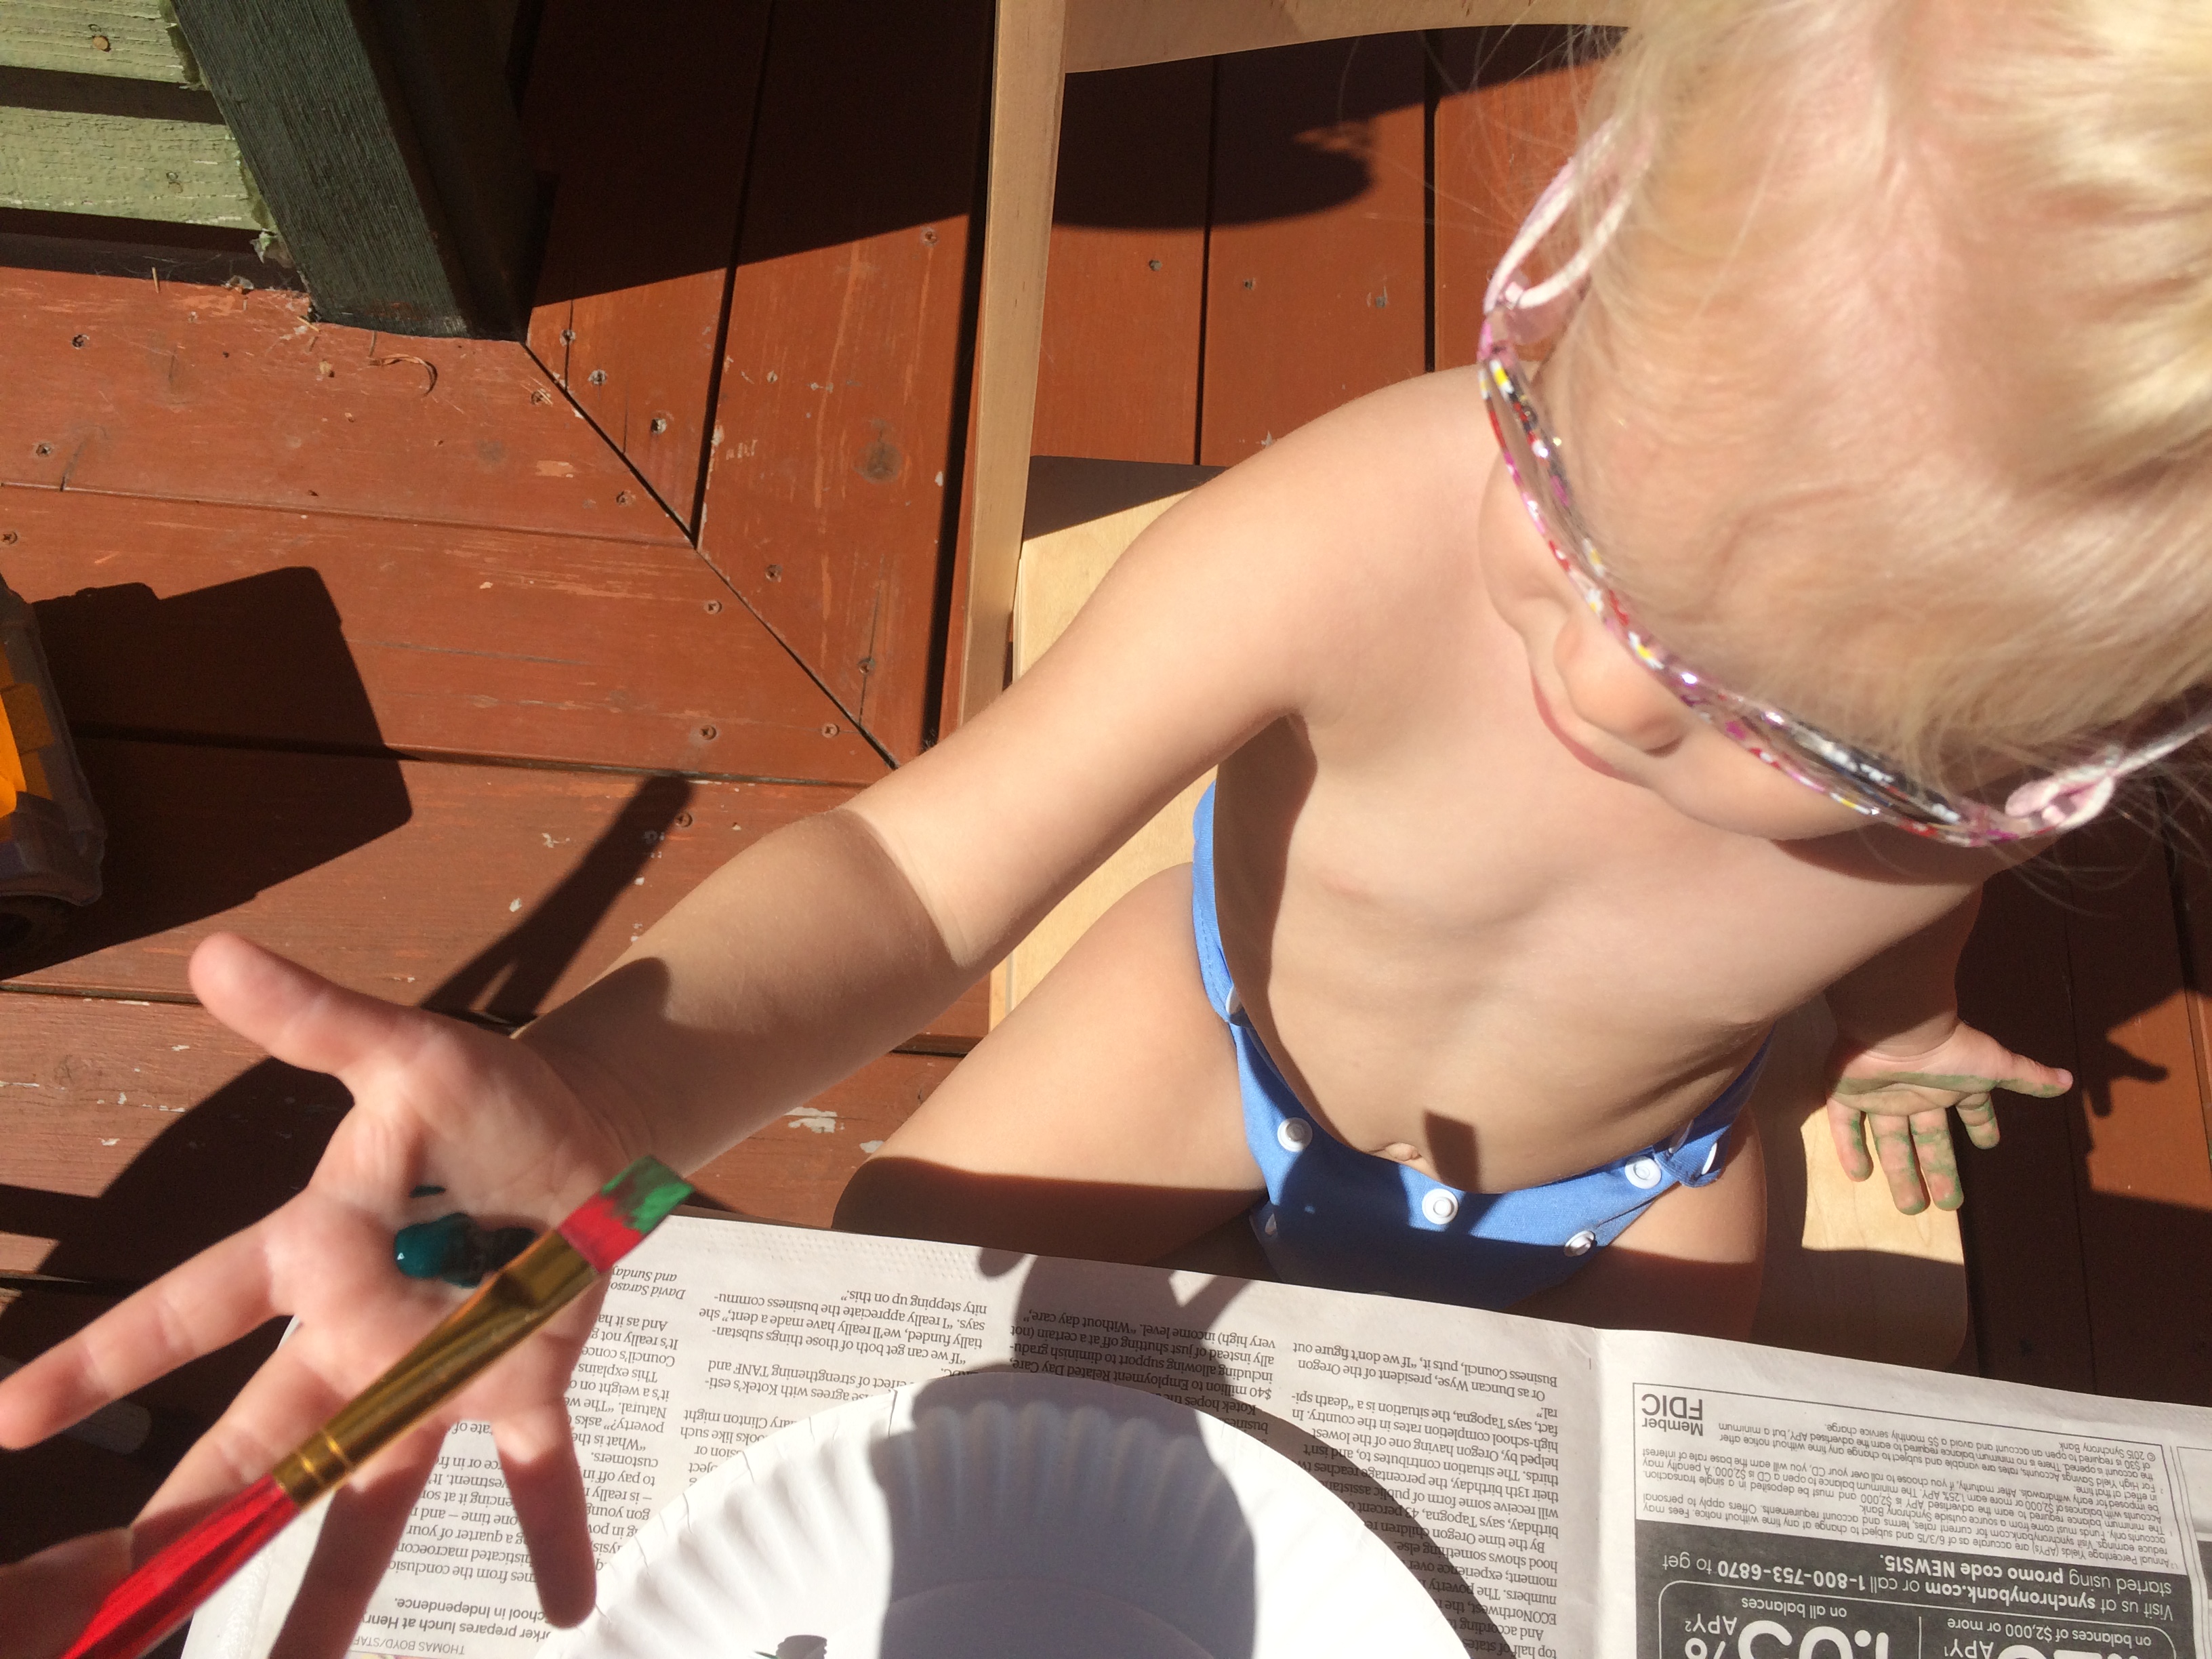
- Paint your helper’s hand green, making sure to cover her whole palm. (Alternately, you can squeeze paint onto a paper plate and stick her palm in it to cover, but I find this a lot messier—plus it gets a ton of excess paint you have to blot off.)
- Guide your helper’s hand onto the side of the jar to make the “tree.” Make a whole forest if you like!
- Clean up your helper before she gets acrylic all over everything.
- Later, paint brown trunks at the base of each hand print and some grass to cover the base of your jar.
- Let it dry and start saving!

Love this!!! I used to be so much better at saving my pennies and I’m working hard to get back to that. Edith has also taken to saving her err….our pennies she finds around the house… and her teeny bank is full so this would be the perfect project for us to do and jar for her to have. Thanks for sharing.
Cute! I love that she’s saving all on her own. Peeper used to love us to dump out a bunch of change that she’d put back in the jar. It’s a good idea to have one for each kiddo to teach them about saving!
I LOVE THIS IDEA!! I’m so going to share this! I especially appreciate step 4 — very important!
So glad you liked it Monica! And yes—working with acrylic and toddlers is risky but necessary for some projects. Precautions must be taken!
So cute! I really love including kids in the whole process and teaching them to appreciate money, and saving.
Well done!
Thanks Dijana! I agree—something like this can make saving more fun, especially since the jar is clear and you can see it fill up bit by bit!
What a fun, cute project to do together! I have to admit: we totally re-purpose all of the peanut butter jars for everything: sticker storage, bead storage, pencils – you name it 😉 I can imagine they get pretty gnarly after being stuffed with change, though, and the personalized glass jar is a brilliant alternative!
The PB jar had been with us for many years. It earned its retirement!
I loooooooooove this idea. Not only is it good to do as a project with kids to teach them about the importance of saving money, but I feel like even without kids, you could decorate a jar with artistic flourishes (or whatever you like, really) and just have a beautiful jar to keep all your loose change in. I don’t know why I’ve never thought of this great idea before. Go you! Cheers 🙂
Thanks Danielle! It’s nice to have something pretty to use instead of our old beat-up jar!
Super cute–and easy enough I might could actually do it!
Super easy! That’s about all I can manage these days.
What an adorable idea! I “save” my change as well. Actually, I donate it. Whenever I have change, I dump it into a mites box and then give it to my Circle at church, which is then sent out to help missions. I should probably pay attention to exactly what missions I’m helping,….hmmm!
That’s a great way to make giving a part of your routine. After all, we don’t really count change as our money—so we don’t miss it when we give it away!