7 must-dos for a kid-free business trip

7 must-dos for a kid-free business trip
Original photo by Jeremy Sternberg, creative commons

You’re on a kid-free business trip, so you’re probably feeling equal parts guilty and giddy. Chances are, you haven’t been away from home and kids in so long that the prospect of dealing with traffic and the TSA, crossing time zones, working long hours and eating what passes for a continental breakfast sounds positively like a vacation.

It’s also likely that you might not know what to do with yourself. I’ve been there, though, so I’ve done you the solid of making a little list of all the things you must do on your next kid-free business trip.

While you’re gone, drop me a line and tell me all about your kid-free extravagances like eating in a restaurant with no play place and sleeping on an un-jumped-on bed. Read more

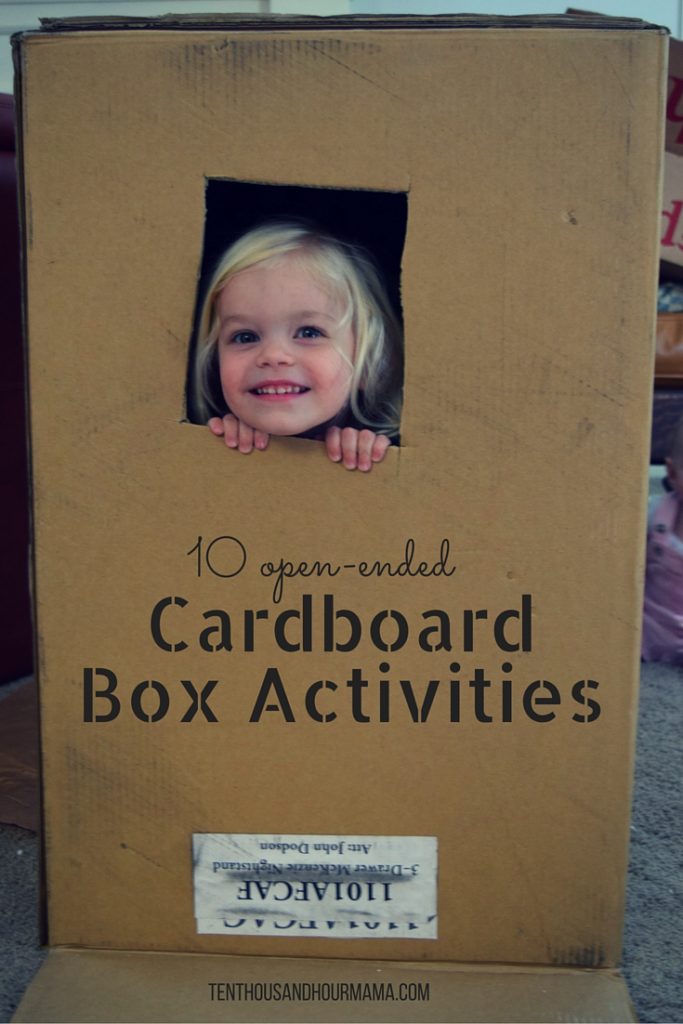
Not a box: Open- ended cardboard box activities

Just about every parent, auntie, uncle and friend has bought a present, watched a child tear through the wrapping paper and waited as she uncovered the gift you so thoughtfully chose for her—then scratched your head as she ignored the toy to play with the cardboard box it came in. The preference can be baffling, but it’s also enchanting: Kids can make playing with a cardboard box the highlight of their day. 

You can give a kid a box and let their imaginations run wild—and you can jumpstart the fun with these cardboard box activity prompts.

10 open-ended cardboard box activities Read more

Happy Independence Day – the meaning behind the 4th of July

Happy 4th of July! Ten Thousand Hour Mama

Happy Independence Day!

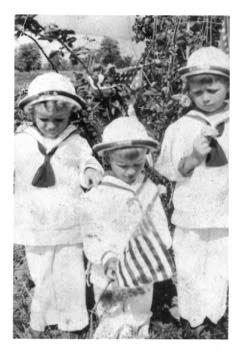
My aunt and godmother just sent around this photo. My Grandpa Ryan is the tyke in front with the flag. He was also a WWII veteran.

The email from my aunt came shortly after I was complaining about fireworks. Our neighborhood is full of kids, which I absolutely love: They play tag, ride bikes and zip in and out of each other’s houses from breakfast until dusk. They even knock on our door to see if Peeper can play, and they take turns jumping on our mini-trampoline with her. We have a beautiful community.

But they also light fireworks. Perhaps the local fireworks tent had a buy-one-get-five-hundred-free deal, but good grief the explosions. Read more

Make the most of new moms’ group

When Kiwi was three weeks old, I packed a diaper bag, strapped her into her car seat and drove to a nearby new moms’ group. I felt shockingly good for being just a few weeks postpartum. I had put on mascara. My nursing tank was clean. I felt ready to meet new people, build a village in a relatively new community and offer the wisdom I’d already gained, having done this whole newborn thing once before.

In the coming weeks and months, though, that I can do this! attitude crumbled under the weight of sleep deprivation, Kiwi’s silent reflux and my own postpartum depression.

In those months, the new moms’ group became a lifeline.

Joining a new moms' group can offer support, ideas and the amazing friendships that will last your kids' entire childhood. Here's how to make the most of it. Ten Thousand Hour Mama

Why join a new moms’ group?

A friend of a friend who was expecting once scoffed at the idea of a new moms’ group. “Why would I ever pay to join a group where people would tell me what I already know?” she asked. I didn’t know her that well, so I kept my mouth shut.

But here, I’ll tell her what have gained going to a new moms’ group, both with Kiwi and Peeper. I got:

  • Unconditional support. My fellow mamas were there every week, and they listened to me no matter what.
  • Ideas. I have a new question nearly every week, from how to transition a baby out of a swaddle to how to make sure your cruiser doesn’t faceplant in the tub. Brainstorming ideas with a room full of experts—aka moms—gives me more tips to try.
  • A chance to help others. Especially now that Kiwi is older, we have been through much of what moms with younger babies are struggling with. I, then, can chime in with what worked for us.
  • A reason to get out of the house. Having a newborn can feel like living under house arrest. It feels good to leave the house—and even better if you get to interact with people other than the checkout lady at Target.

Joining a new moms' group offers a lifeline in one of the most challenging parts of your life. Here's how to make the most of it. Ten Thousand Hour MamaThe families you meet at new moms' group will become your village—and your baby's besties! Make the most of the group you join—here's how. Ten Thousand Hour Mama

Win at new moms’ group

Not all new moms’ groups are the same, but I have been unspeakably fortunate to have found the communities within the moms’ groups for Peeper and Kiwi.

That said, it takes a little effort to make the most of a new moms’ group.

New moms group night out

Based on my experience, I offer these suggestions to connect deeply and build your village.

  1. Be vulnerable. Motherhood is not easy. No one expects you to be that uber together mom. (Does she even exist? I don’t really think so.) And, as the wonderful facilitator who runs my new moms’ group says, “Being vulnerable is a gift. By opening up, you allow others to be vulnerable, too.”
  2. Start a Facebook group. Crises always seem to strike at 3am, and having a place to vent/ask questions/post a picture of your baby’s weird poop—at any hour of the day—helps you stay sane.
  3. Don’t leave without getting someone’s number. Exchange numbers with at least one person each time you go to new moms’ group. Then don’t be shy to text.
  4. Keep a standing date. Every week after new moms’ group, a handful of mamas and babies go to lunch together. There’s no strict commitment—we attend as our schedules (and kids!) allow—but we know the option of grabbing a bite or heading out for a picnic is always on the table.
  5. Plan play dates. Every so often, one mom hosts a play date. The get-together gives our kids a chance to play/poke each other’s eyes and gives us a chance to catch up.
  6. Introduce your families. In new moms’ group, we see our mom friends and their tiny babies. Most of us have a partner, and some of us have older kids, too—none of whom come to group. Meeting the whole family, like we did for a holiday party and a giant brunch potluck, strengthens our ties. Some of the dads are becoming friends, too!

All the babies! Joining a new moms' group will build your village when you most need it. Ten Thousand Hour Mama

I’m still friends with many of the women I met during the new moms’ group I attended when Peeper was born. It’s been a beautiful experience watching their babies grow from tiny peanuts into preschoolers.

I feel so fortunate to have built this community—this village—of moms. But don’t take my word for it. If you have a new baby, test out a new moms’ group for yourself. It’s in your power to create a nurturing, supportive, loving and fun community to raise your baby—and yourself as a new mama.

Did you find a supportive community when you were a new parent?

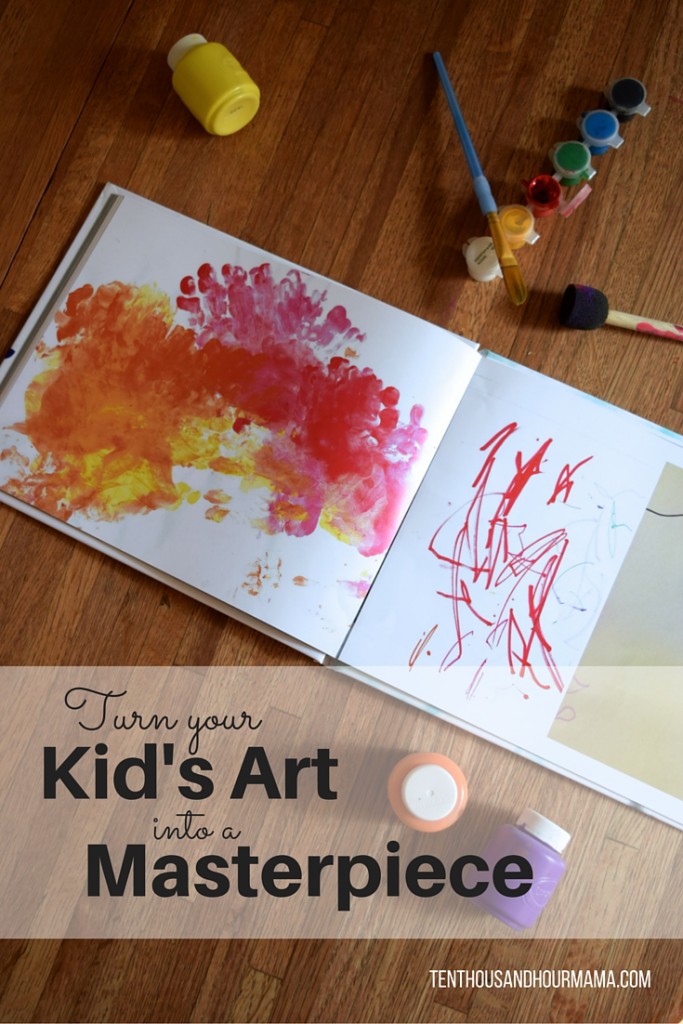
Unclutter your kid’s art: Turn it into a masterpiece!

If you’re new ’round these parts, you might not know: Peeper loves art. She loves to paint. She loves to color. She loves to glue. She loves to squish her hands into finger paints and give herself a standing ovation, splattering red and blue all over the walls.

(Ok, that last one is more performance art, but still.)

All those days of keeping busy with kid crafts leads to a lot of saved projects. At one point, the kitchen counter, the wine rack, my work desk, the fridge and the dining room table were all buried under my preschooler’s crafts.

I knew something had to change. I had to unclutter my kid’s art.

Unclutter your kid's art by turning it into a masterpiece! Ten Thousand Hour Mama Read more

Today I say no to mommy guilt

The internet is filled with blog posts just dripping with mommy guilt. These posts are about how a mom lost her temper, yelled or lost her patience or cried or otherwise acted imperfectly, then tearfully apologized to her kids. These posts are about moms trying to forgive themselves.

This is not one of those posts.

Today I say no to mommy guilt Read more

Kiwi is 11 months

11 month old baby bruises

If my kid is covered in bruises, please don’t worry. It’s just that her ambitions are outpacing her motor skills.

There was one week when Kiwi had several bruises on her head, a goose egg above her eye and a gash on her gums. She had taken several headers, pulled both a chair and and end table on top of herself, and slipped in the tub—twice. All the bonks made me feel terrible, but it’s hard to rein in an 11-month-old baby who is set on cruising and climbing. Read more

A fashionably fierce sweater craft

Kids sweater craft: Princess and the Pony

Princesses are everywhere these days.

Disney has overrun the toy aisle, Pandora stations and the playground.

Now, I’m not a hater: I adore certain Disney movies, and Peeper’s first movie was Cinderella. But I can’t help but notice that a lot of princesses are, well, passive.

That is not the case with Princess Pinecone, the titular royalty in the picture book The Princess and the Pony.

A princess book with sass

Princess Pinecone lives in a society of warriors. But her parents haven’t quite caught on: They give her cutesy sweaters instead of cool warrior presents like shields, spiked belts or—what she truly covets—a fierce warrior horse.

When her birthday rolls around, she does get a horse—sort of. Princess Pinecone gets big-eyed, doughy pony who farts too much.

But she can’t give a birthday present back, she figures, so she keeps the pony. What happens at the next warrior brawl surprises everyone.

Getting crafty

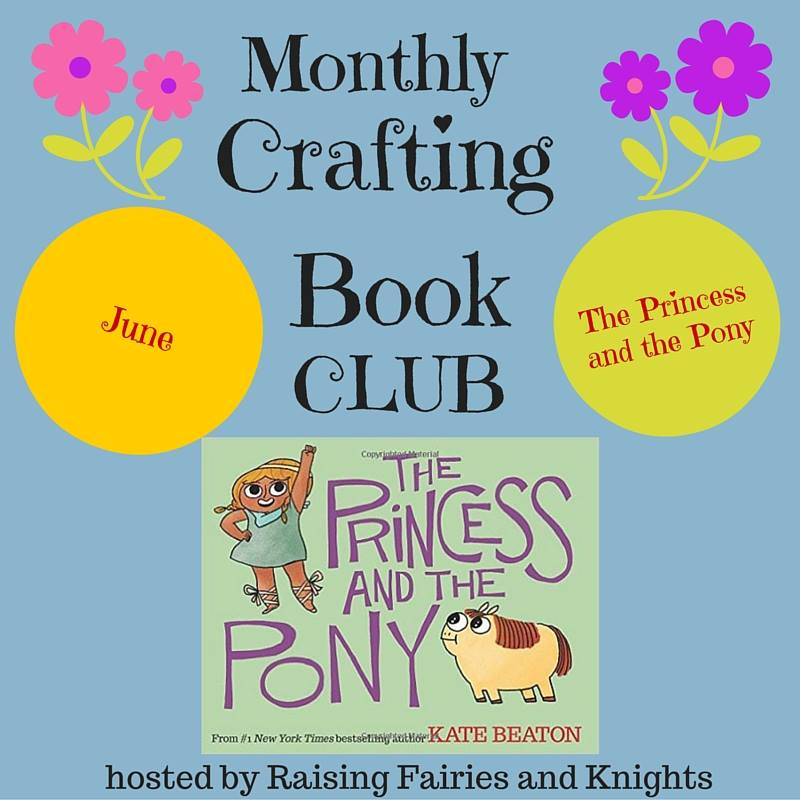
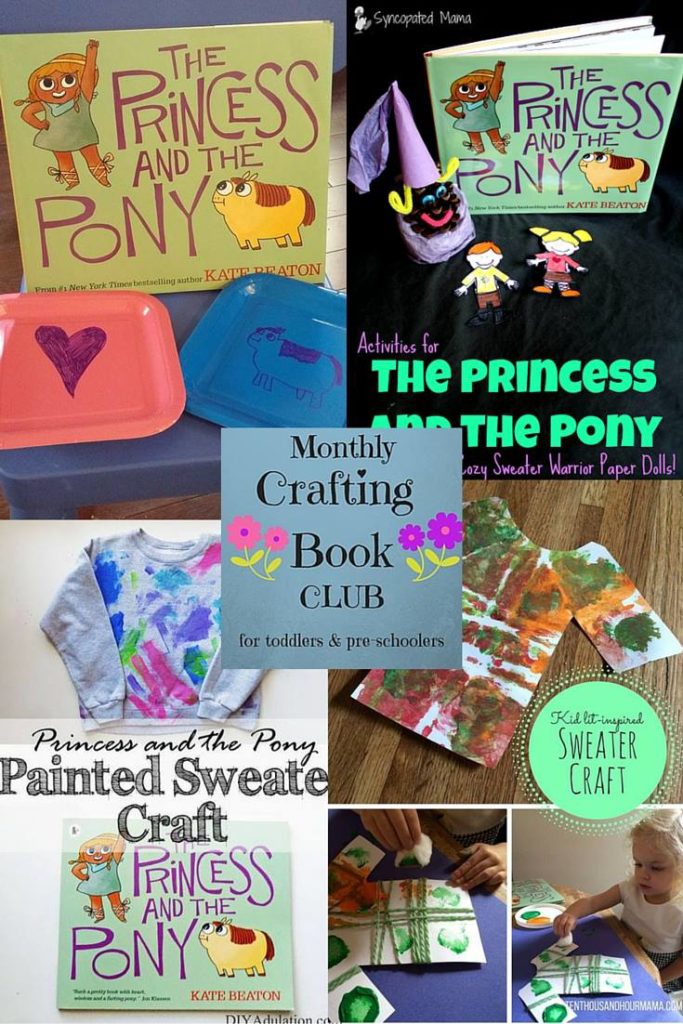
After reading The Princess and the Pony about a hundred times, I made a book-inspired craft for Peeper. And I’m not the only one: Check out the brute-inspired crafts at the Raising Fairies and Knights Monthly Crafting Book Club!

Monthly Crafting Book Club

Princess Pinecone and the rest of the brutes in the book come to realize that cute can be strong, and you don’t have to be just fierce or just adorable—you can be both.

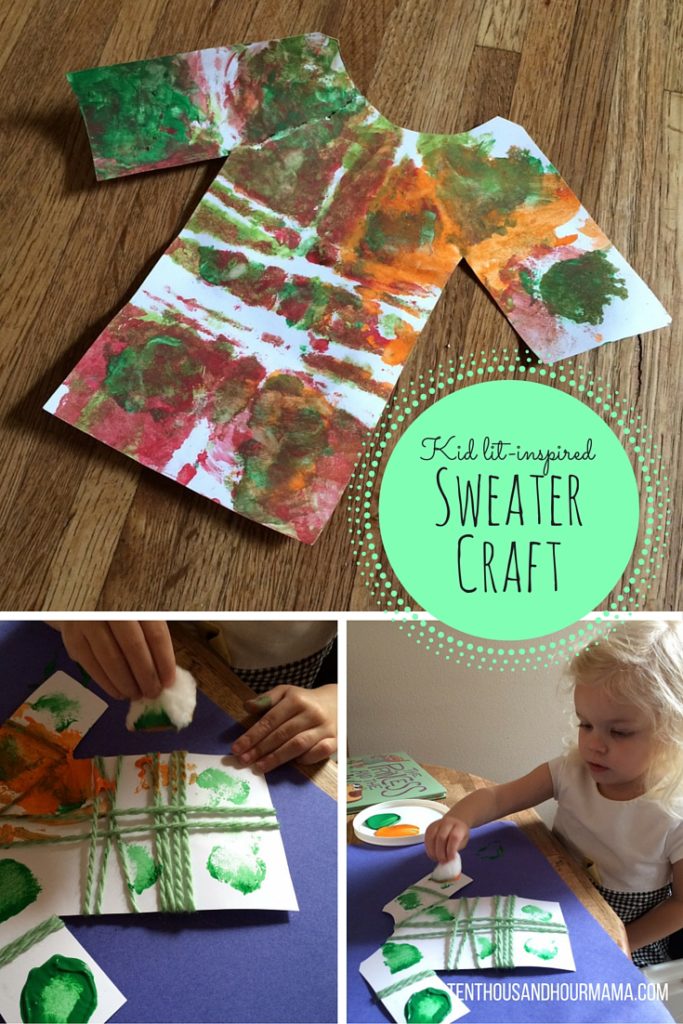
So Peeper and I created a fashionably fierce sweater craft.

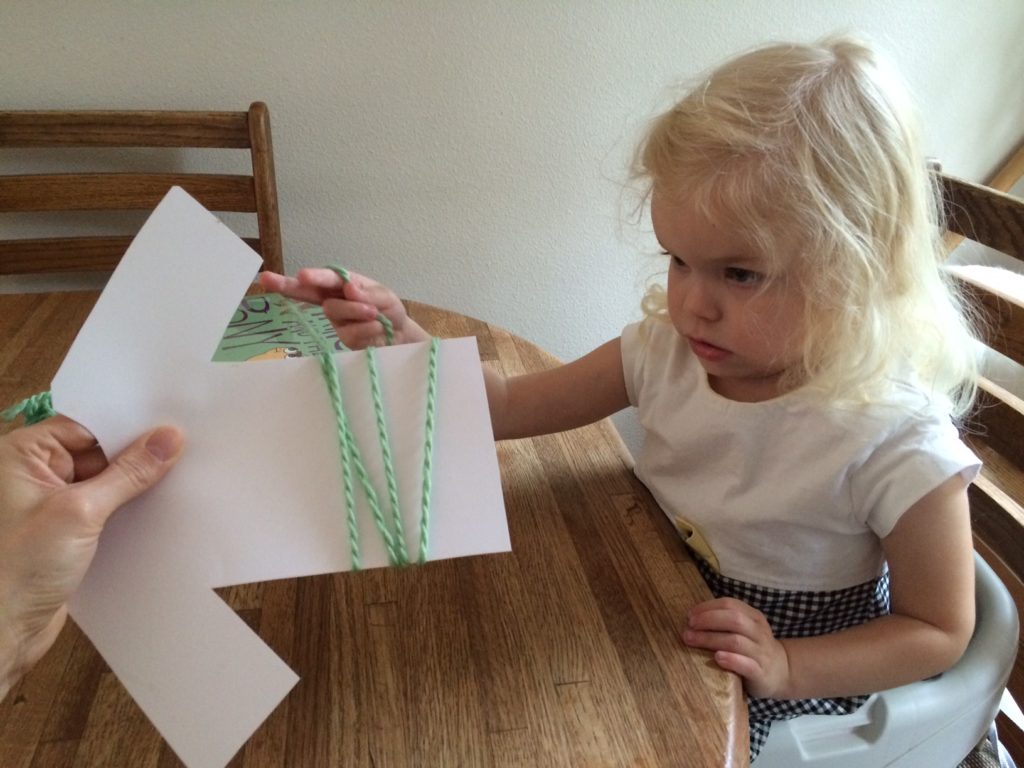
This sweater craft is great for fine motor skills—though if your little is as young as Peeper is, she may need a little help winding the yarn around the paper.

Princess sweater craft

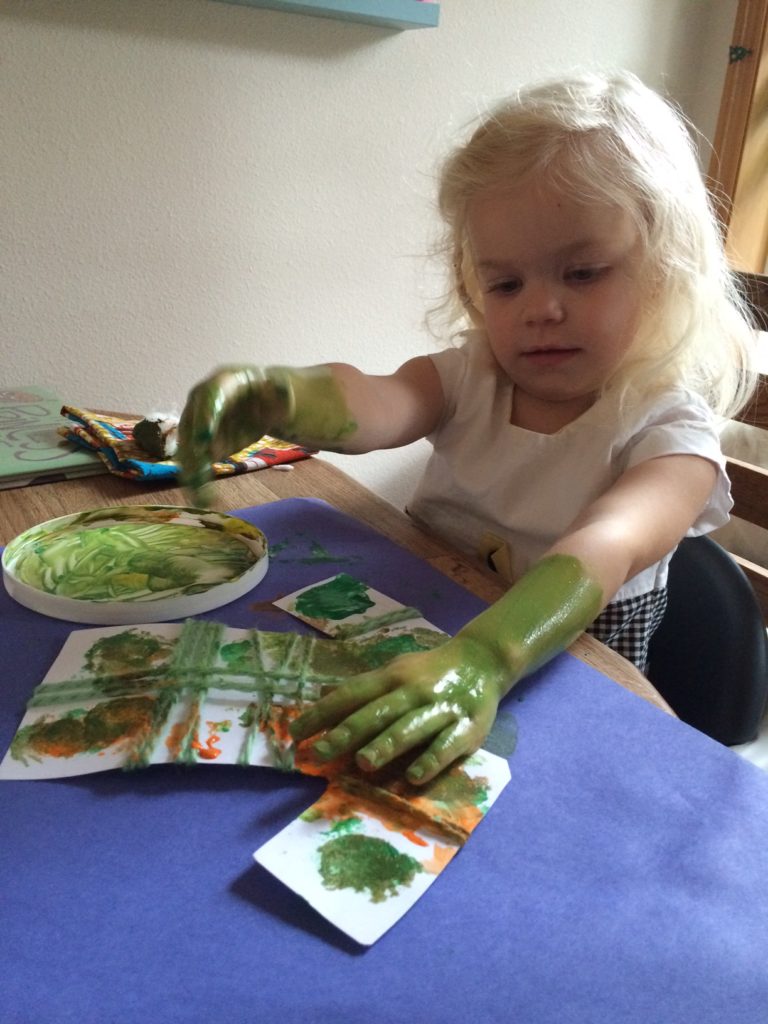
It’s also very open-ended. There’s no “right” way for the sweater craft to look: The process of winding and stamping (and hand-slapping, if you’re Peeper) is much more important than the final product.

After all, process art helps young kids feel more confident, since they don’t “fail” to make their project look identical to the model one, writes the National Association for the Education of Young Children.

So hit up your library for a copy of The Princess and the Pony, then join us for some cozy—and fierce—fun.

Kids sweater craft Princess and the PonyKids sweater craft Princess and the Pony

Fashionably fierce sweater craft

Supplies

  • cardstock paper
  • yarn
  • painter’s tape
  • paint
  • cotton balls

Instructions

  1. Cut out a sweater shape from a sheet of cardstock.
  2. Tape one end of the yarn to the “back” of the sweater. Then have your child wind the yarn around the sweater. (You may have to help by guiding her hands or playing out the yarn.)
  3. When your child is done wrapping, tape the tail of the yarn to the back of the sweater. This will secure the yarn so it doesn’t move.
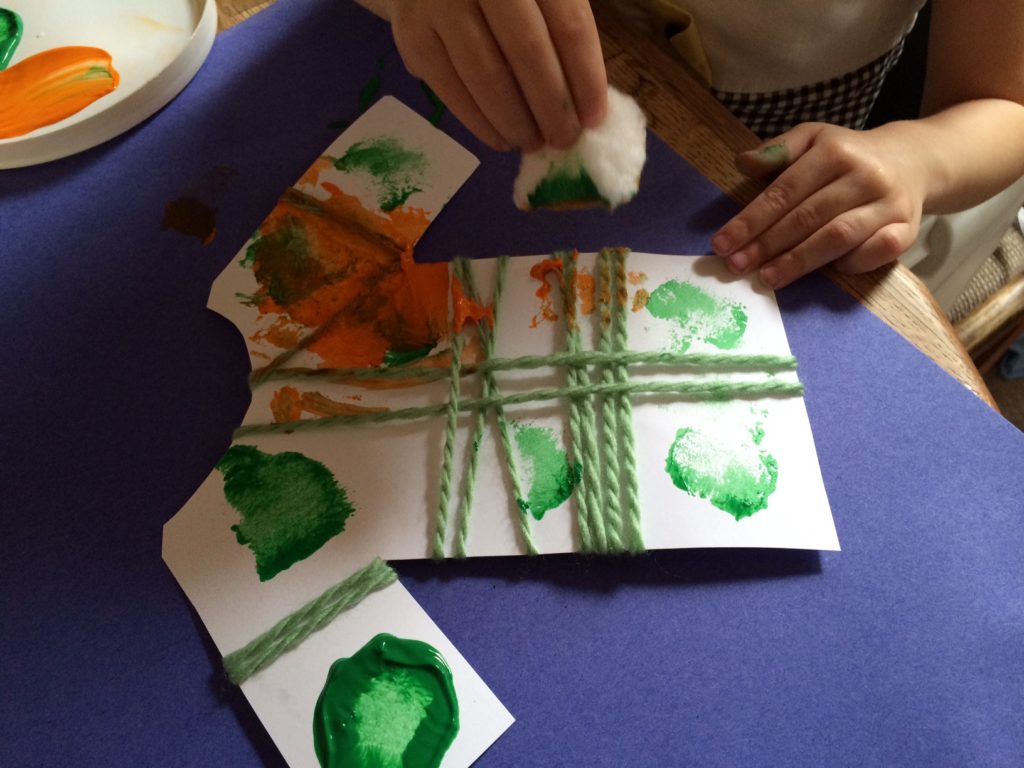
  4. Squirt out as many colors of paint as your child would like. Invite her to stamp the paper with a cotton ball (it’s so cozy, like a sweater!). The more she paints over the yarn and fills up the white space, the more contrast she’ll get.
  5. When she’s done, untape and unwrap the yarn. She’ll see the white lines left by the yarn—giving her a striped sweater!

Don’t forget to try out the other The Princess and the Pony crafts at the Monthly Crafting Book Club!

Princess and the Pony monthly crafting book club

Celebrate summer with messy painting

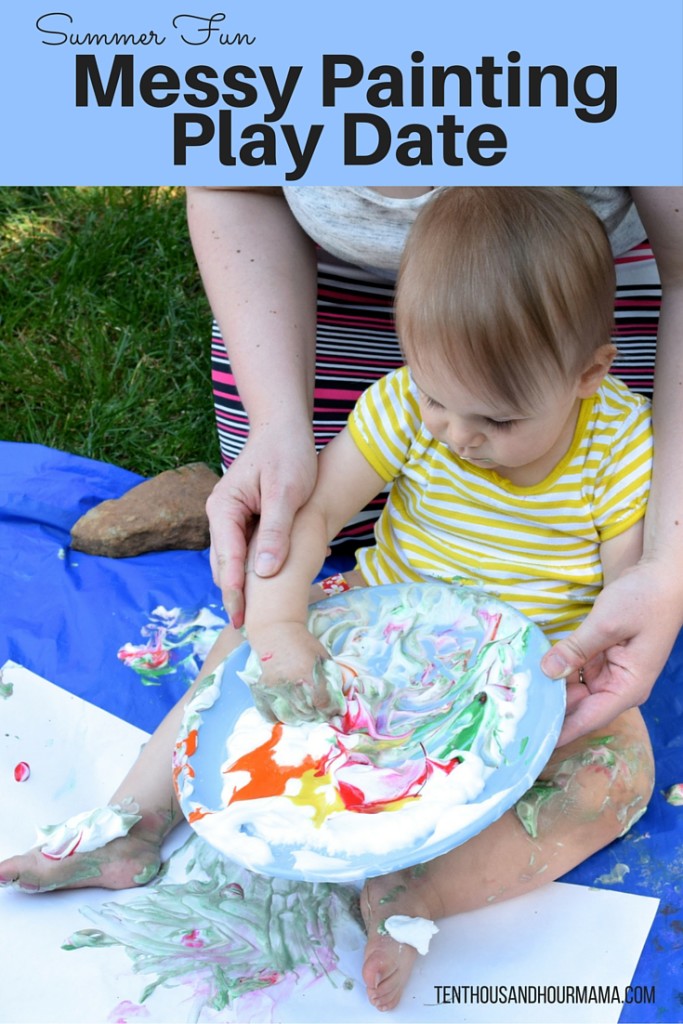
Art, at its best, is a full-body experience—at least according to my kids. And with summer here (happy first day of summer!), it’s the perfect time to get outside for some messy painting.

On a recent afternoon, Peeper, Kiwi and a few friends did just that. I squirted paint onto plates of shaving cream, and the kids dove in: Within minutes, we were all messy. And within minutes, we were all having so much fun.

After all, we often tell kids to be neat. Use a napkin. Don’t spill. Wash your hands. Keep your hands to yourself. 

With the weather warming up, though, it’s a great excuse to play outside. And with a little set-up—and a lot of shaving cream—you can let your kids’ creativity go wild. Come on, color outside the lines!

Summer Fun Messy Painting Play Date - Ten Thousand Hour Mama Read more

DIY colorful tomato cages

60-second DIY tomato cages - Ten Thousand Hour Mama

Peeper, in all her almost-three-year-old wisdom, has become quite the picky discerning eater. Tool around the internet searching “picky eater” and you’ll find about a billion recommendations to miraculously make your preschooler ask for seconds of that spinach-quinoa-frittata you whipped up. The tip that has made a lot of sense to me, though, is having your kid help grow the food you want her to eat.

Unfortunately, I’m a bit of a black thumb. I have somehow managed to kill a half-dozen cacti and succulents in the last year, not to mention the less hardy plants that have perished on my watch.

But I refuse to give up—especially if persistence means fewer power struggles around the dinner table. So this spring and summer we are growing some edible plants in planters.

First up on Peeper’s homegrown menu: tomatoes!
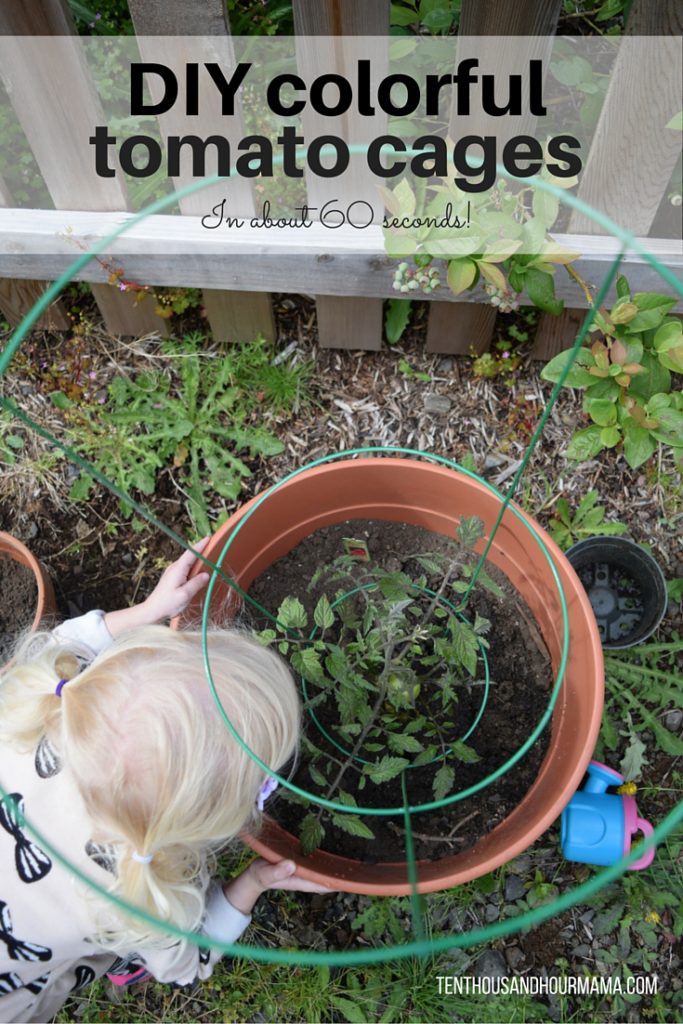
 DIY colorful tomato cages

Getting her hands dirty

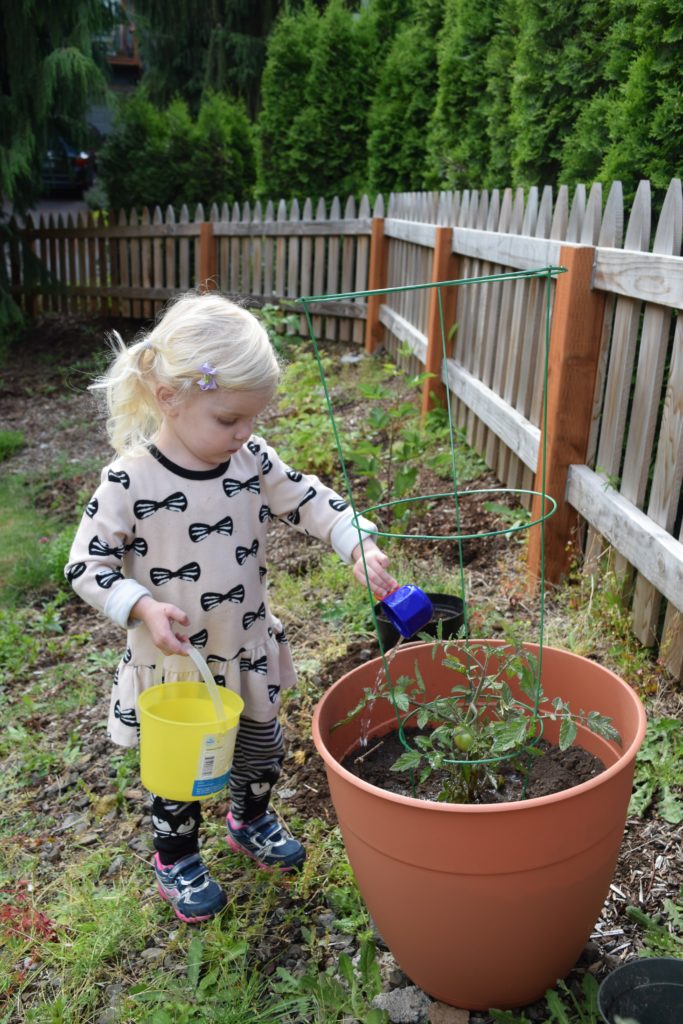
Peeper was so excited to plant the tomato starter. She’s been checking on it daily as the poor plant languished in its tiny pot for weeks. (See my earlier note about killing plants. Oops!)

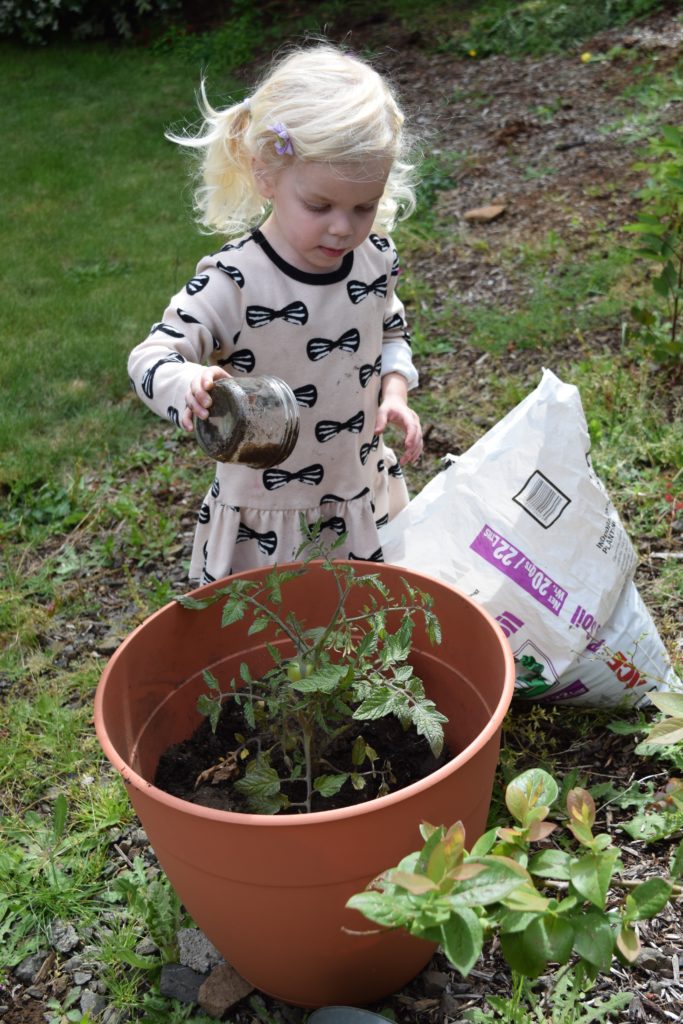
We couldn’t find the trowel in the rat’s nest of our garage, so Peeper helped scoop potting soil with a little Mason jar.
DIY colored tomato cages

What kids learn from growing food

I’m most excited about the (theoretical) expansion of Peeper’s menu, but there are other benefits to helping kids grow food.

Planting a seed, tending to it and watching it grow is a tangible lesson in where food comes from. Hands-on gardening teaches kids about the life cycle and the effect of the environment (like what happens to a plant after a rain storm or a scorcher).

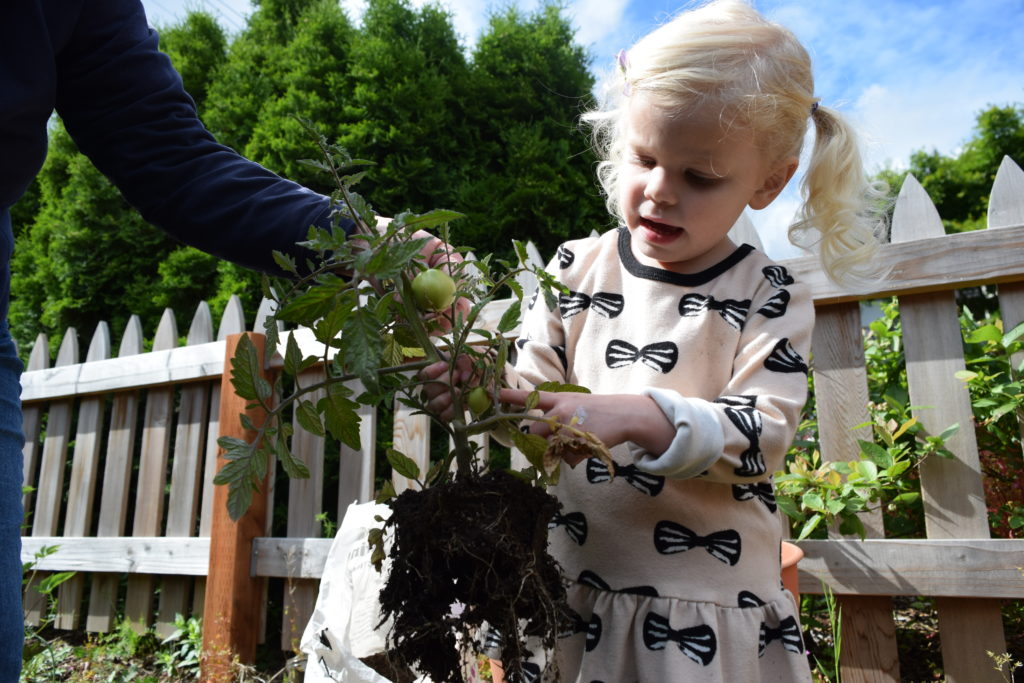
Growing food also teaches kids about how a plant grows. Peeper got up close and personal with the tomato plant’s roots as we loosened the packed dirt around the root ball.
Planting tomatoes and DIY tomato cages

Kids also learn ownership and responsibility. Peeper has asked to water the plants we repotted and loves to check their progress. The patience she’ll gain, too, as she waits for a tiny green tomato to turn into a beefsteak is a bonus for any preschooler.

Making a pretty tomato cage

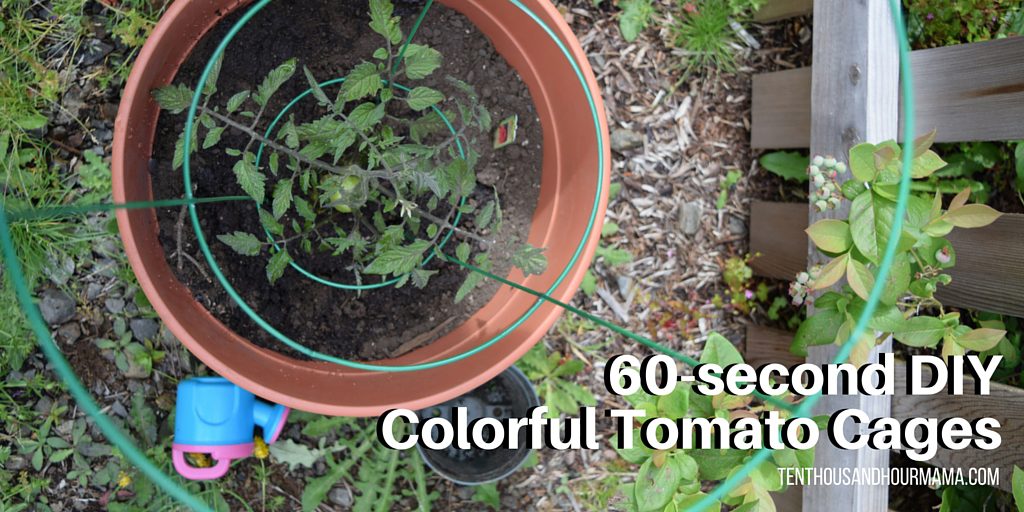
Once we repotted the tomato, we had to stake in the tomato cage. We explained to Peeper that tomato plants grow big and heavy, and the cage helps support it.

When I’d gone to the hardware store to buy the cages, I wanted to get the beautiful, brightly colored ones—but couldn’t justify paying three times more for a pink or green one.  Instead, I bought the regular silver tomato cage—and gave it a 60-second facelift!
Spray painting DIY tomato cages - Ten Thousand Hour Mama

DIY colorful tomato cages

Using stuff you probably already have in your garage, you can make a tomato cage even prettier—in about a minute!
60-second DIY Colorful Tomato Cages

Supplies

  • a metal tomato cage (mine cost less than $3 at the hardware store)
  • cardboard or newspaper
  • spray paint (I used a can that was lying around from a previous project, so it was free!)

Directions

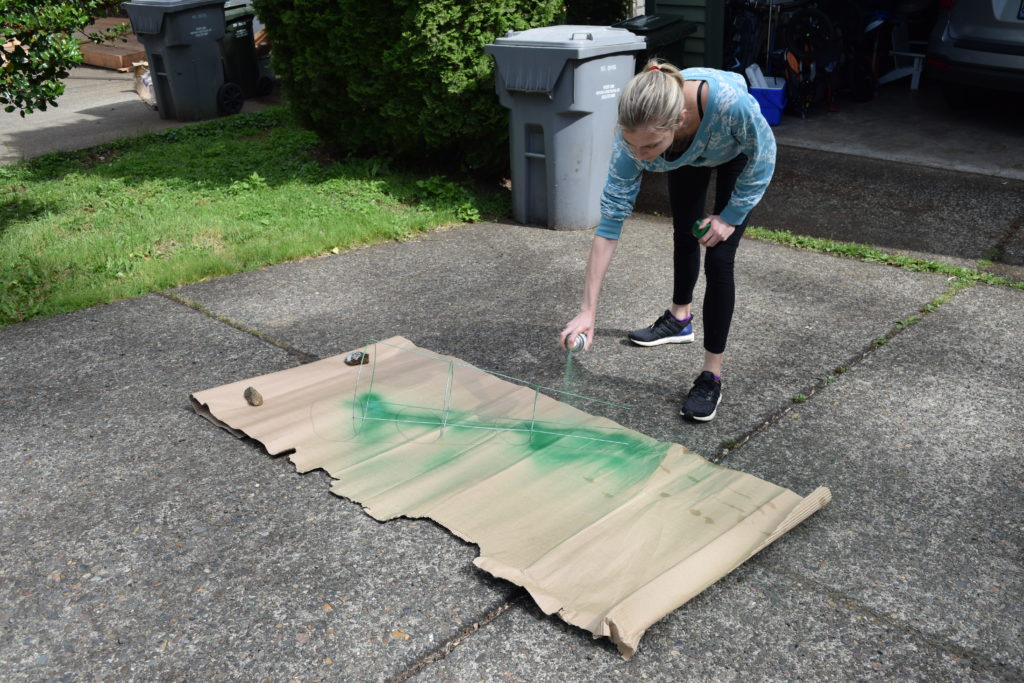
  1. Lay out your cardboard or newspaper on a flat surface. Make sure it’s bigger than the tomato cage so you don’t spray paint the ground.
  2. Set the tomato cage on top in a way it won’t move around.
  3. Following the directions on the spray paint can, spray a layer of color on the tomato cage.
  4. Wait until the layer of paint is dry, then turn the tomato cage over. Spray paint that side.
  5. Wait for the paint to dry fully, then stick the tomato cage in the ground. It’s ready to support those tomatoes in style!